I’m here with the easiest guide on how to install Google Search Console for WordPress websites.
Search engines like Google are the primary traffic source for successful small businesses, freelancers, and agencies. If you want to get the most out of Google search rankings, then setting up Google Search Console is non-negotiable.
Google Search Console (GSC) is a free tool by Google that provides valuable information about search engine rankings for your website and web pages. As a beginner, you might need help installing the Search Console.
Generally speaking, you have to go through the following steps to set up Google Search Console for your website:
- Sign up for Search Console with your Google account
- Enter your website URL
- Verify the website ownership with the different available methods
Verifying website ownership is the hard part if you don’t know anything about coding or how websites work. However, if you have your website in WordPress, it’s made easy with plugins.
So, let’s get on with how you can link your website with GSC and take advantage of the benefits. Let’s start by understanding why we should use Google Search Console.
Why Every Website Needs Google Search Console
Google Search Console primarily helps you monitor your site’s health, search data, rankings, website issues, and so on. Website owners, content marketers, and SEO specialists use Search Console to improve their content strategies and optimize website rankings.
Some of the important uses include tracking web page stats on Google, such as clicks, impressions, click-through rates, and average position of web pages.
It’ll also inform you what search queries (keywords) drive visitors to your website from Google.
Such metrics can be used as a reference to what should be improved on your website. For example, you can analyze your pages and blogs and find what niche or categories are performing well in searches. This will help you focus on creating content that works for your website. In addition, you can also work on improving the underperforming pages.
For example, your web pages have high CTR but low impressions. This means your pages have a click-friendly title and meta-description, but aren’t appearing on searches that often.
Another benefit of Google Search Console lies in crawling and indexing your website.
Crawling is the process by which search engine bots go through the content they find on your website. Indexing means recording and storing scanned data to display on SERPS (Search Engine Result Pages) for relevant searches.
Linking your site to GSC means you are letting Google know of your site’s existence. With that, Google will then crawl and index your website.
In addition, you can also submit your website’s sitemap to Google. If you don’t know what a sitemap is, it’s a blueprint of your website that contains the list of all the directories, pages, and posts on your website.
By submitting sitemaps, you make sure your website data is crawled and indexed better without a single page missed.
Moreover, GSC generates sitemap reports to inform you on the frequency of crawling, crawling and indexing issues, and possible solutions.
Besides, you also get insights like linking status, indexing report, indexing issues, mobile compatibility, and so on.
Now, let’s see how to install Google Search Console for WordPress websites.
How to Install Google Search Console for WordPress Websites
Setting up Google Search Console involves some simple steps. Just follow them step-by-step without missing a step.
Let’s begin!
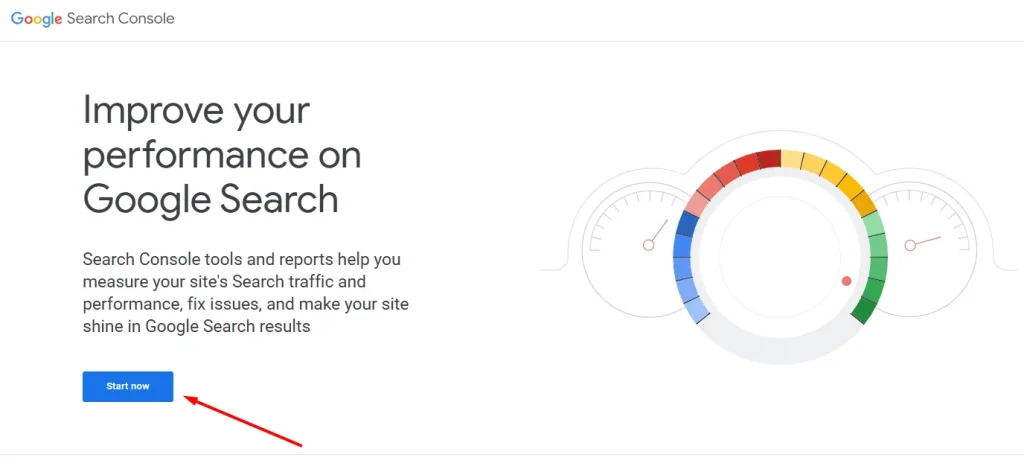
#1: Sign in to Google Search Console
Everyone has a Google account. If you don’t, make one!
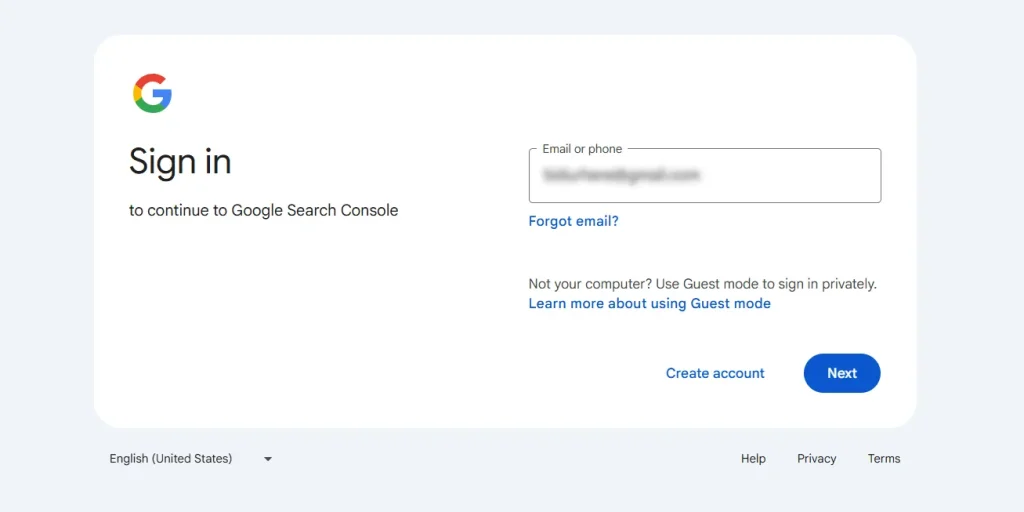
After that, you need to go to Google Search Console and sign in with your Google account.
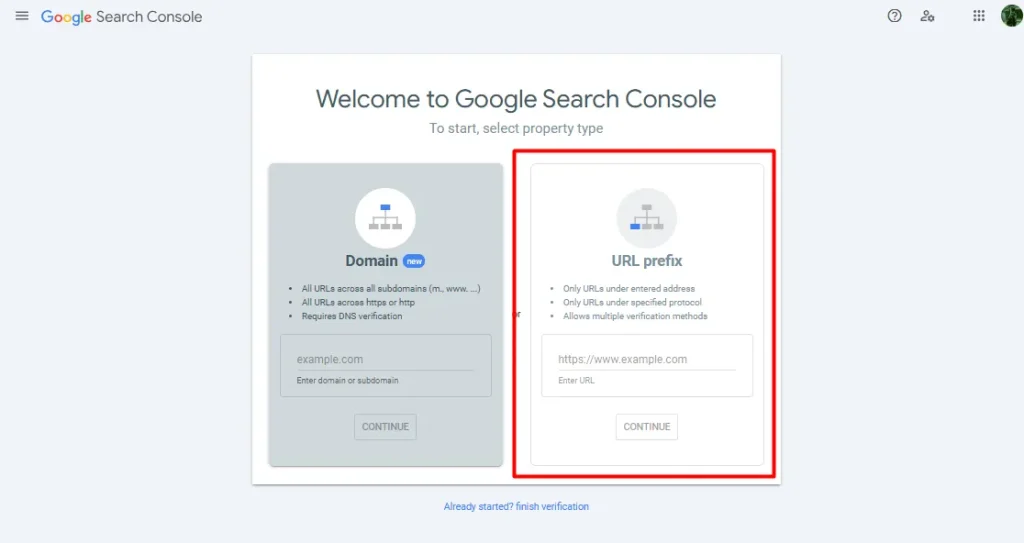
#2: Enter Your Website’s URL-Prefix
After signing in, you have to add your property. There are two ways to do it: by domain and by URL prefix.
Verifying with the URL prefix is easier, so we are going to go that way.
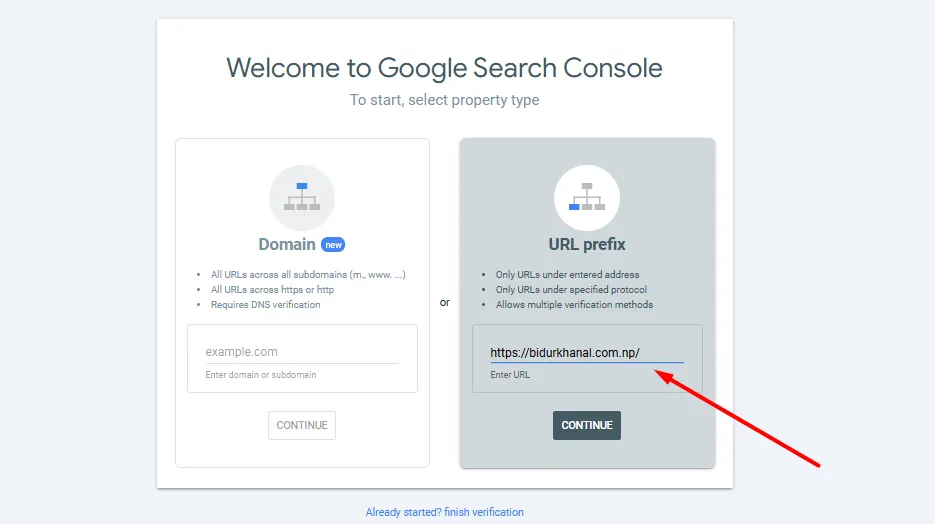
Under URL prefix, enter your website URL. For example: https://bidurkhanal.com.np/.
Then click on Continue.
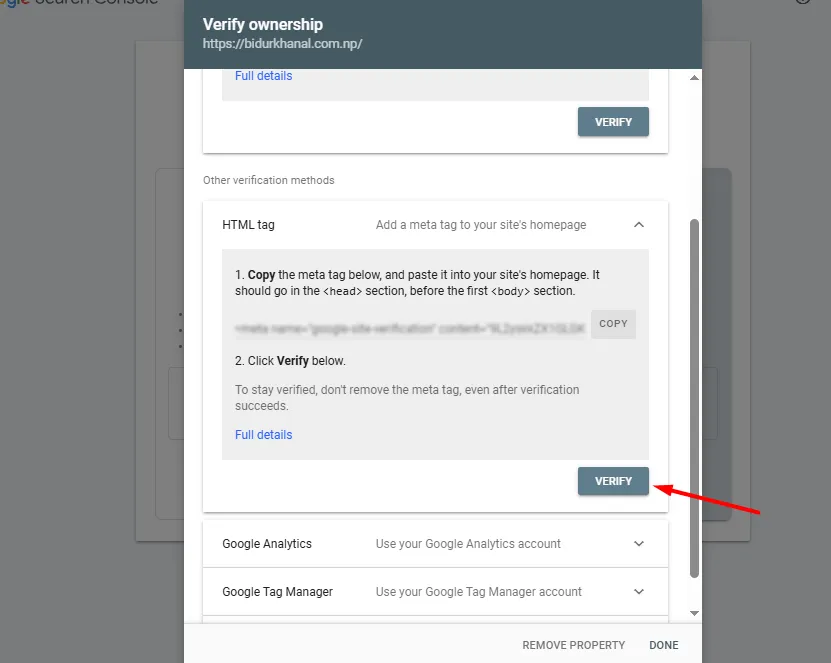
On the next screen, you will see various methods for verification, such as an HTML file, an HTML tag, GA (Google Analytics), GTM (Google Tag Manager), and a domain name provider.
The easiest option is with the HTML tag method. So, click on it to see a meta tag. You’ll need the code to copy into your website source code file. Copy it to the <head> section of your site’s homepage, to be specific.
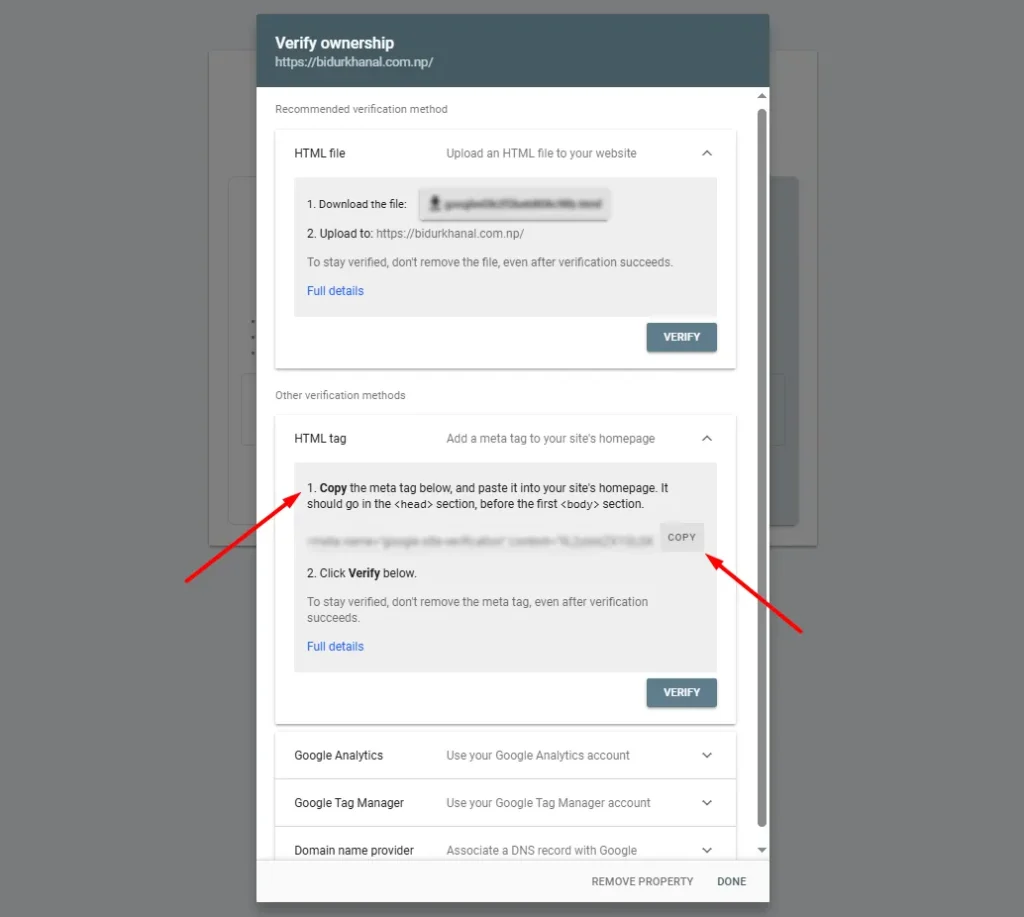
Don’t close this screen yet, because you need to return here later.
#3: Install a WordPress Plugin
As a non-coder, how would you access the source code and copy the HTML tags? You don’t have to do that if your site is built on WordPress.
All you have to do is install a plugin to insert the code. Here, we are going to use a multipurpose plugin, Jetpack, to do it.
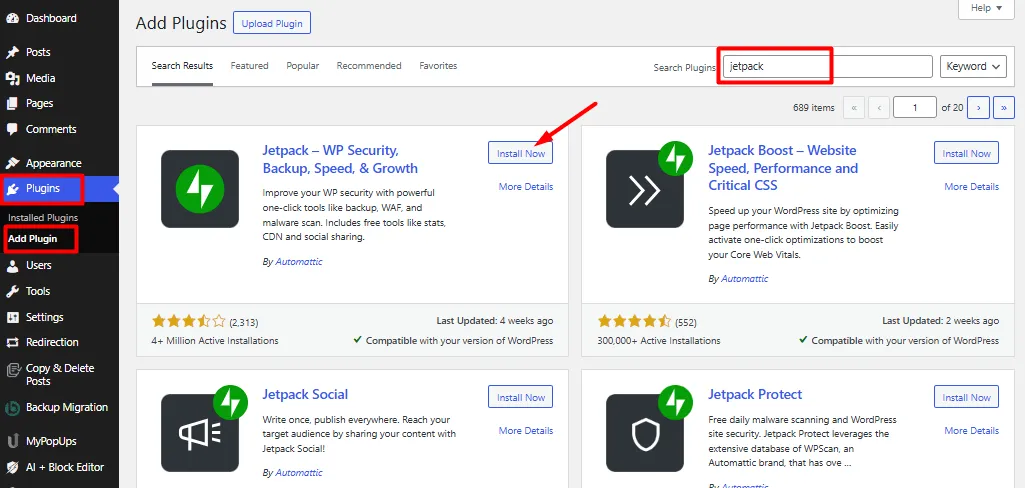
So, go to your WordPress dashboard in a new tab and go to Plugins > Add New
After that, search and install Jetpack.
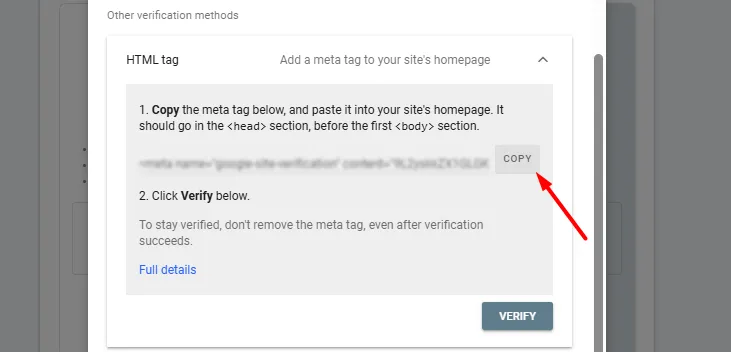
#4: Copy and Paste the HTML Tag code
After that, go back to the Google Search Console tab and copy the meta tag code.
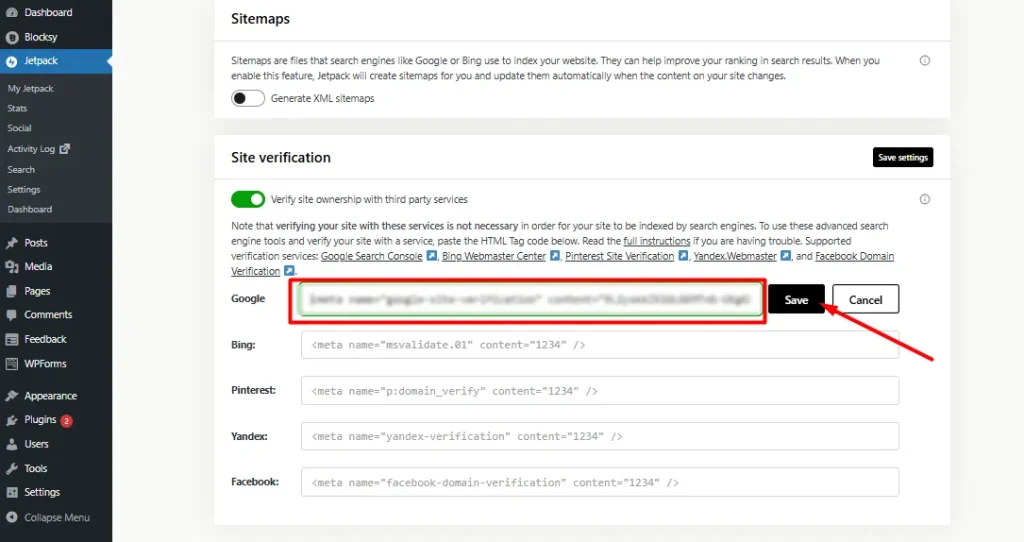
Now, go to the WordPress dashboard again. Then, go to Jetpack > Settings.
Then, go to the Traffic tab.
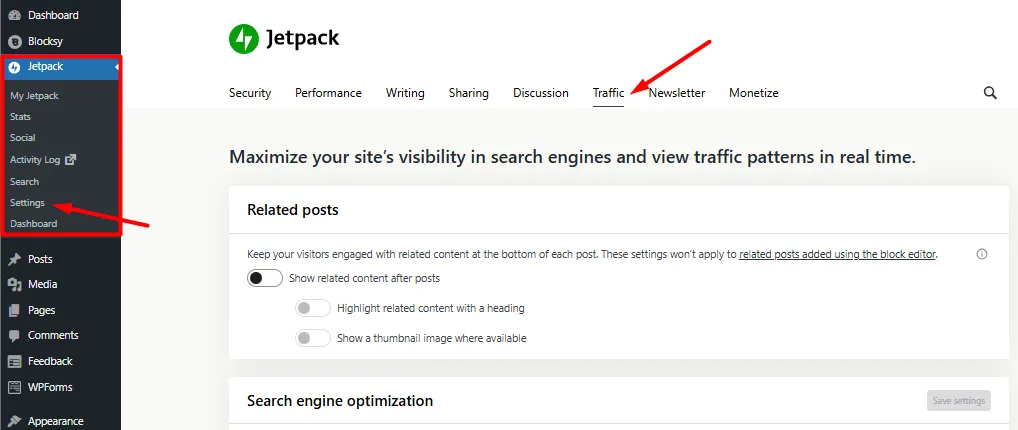
Scroll below to the Site Verification section and click on Manually verify with Google.
After that, paste the HTML meta tag and save it.
#5: Verify Ownership
Again, go back to your Google Search Console tab and click on ‘Verify’.
After a few seconds of verifying, it’ll display an ‘Ownership verified’ message.
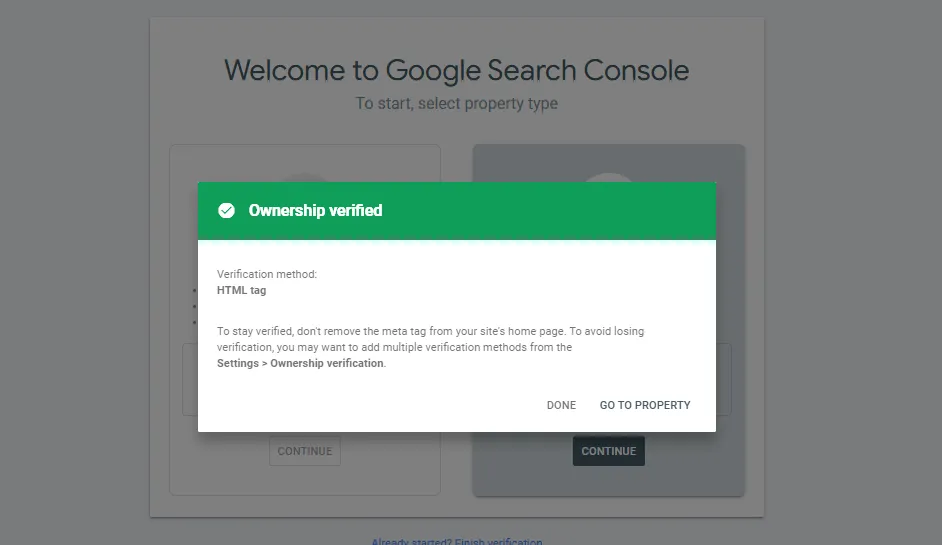
You’ll begin to see statistics and reports on your Search Console dashboard once your site starts receiving traffic.
Wrapping Up
That’s all you need to know if you want to install Google Search Console for WordPress websites. I have compiled the easiest steps so anyone with basic website knowledge can handle it smoothly.
I will publish similar blogs regularly, so stay tuned and get updates on my LinkedIn profile.